
Recently, I shared this hooded tunic on my blog:

It's the Terra Tunic from Love Notions and you can read more about it here.
The Terra Tunic has optional welt pockets, and while I love them, I wanted something a little sporty for this particular shirt, so I drafted my own kangaroo pocket instead. It's worth mentioning that if you like the welt pockets, but are nervous to give them a go, the pattern includes fantastic instructions as well as a helpful video.
However, if you want to try a kangaroo pocket, I am going to share how you can add one to your Terra Tunic or any other pattern. You will add the pocket to the front piece before sewing together the rest of the pattern.
I made this tutorial as simple as I could, hoping that a true beginner can follow along.
I made a simple folded edges kangaroo pocket, but there are other ways to make one as well. Other methods include lining the pocket, finishing the open edges with binding, finishing the bottom edge by including it in the seam allowance of a banded hem... to name a few. Feel free to use other techniques if you prefer. I also drafted my pocket with straight lines, although some kangaroo pockets might have a more curved pocket opening. This is just a good base which you can adjust as you please.
To figure out the size of my pocket, I measured a kangaroo pocket on one of my RTW hoodies. (I feel like I've said the words "kangaroo pocket" way too many time already in this blog post. Kangaroo pocket, kangaroo pocket.... sorry!)
I checked that the pocket wouldn't be too large on the tunic I was sewing, as the Terra Tunic is slimmer than my RTW hoodie. It was fine, but it's worth checking you like the size before getting too deep into the project.
I added seam allowance (all edges will be turned under by a half inch) and I came up with the following measurements:

Here is the step by step of how to draw it, for those of you who aren't geometry fans. :)

Next, draw a perpendicular line, 8" tall, starting in the center of the first line:

Draw a line perpendicular to the 8" line you just drew, also 8" long, so 4" on each side:

Next draw two lines 3.5" tall, each starting from the edges of the first line you drew, and perpendicular to this line:

Finally, connect the open edges to finish the kangaroo pocket shape. These diagonal lines will be the openings of the pocket. This is the final shape:
Seam allowance (0.5") is already added, use this pattern to cut out your fabric as is.
Now on to the sewing part. I apologize for the pictures, I took these late at night on my cell phone. Additionally, the right and wrong side of the fabric, as well as the thread that I used are all the same color. If you need clearer pictures with different fabric and contrast thread, please let me know. I would be happy to do these over if there is interest.
Please note: If you are using a fabric that frays, you will either want to finish the edges of the pocket or tuck the raw edges inside the folds as you go. If you are using a fabric that doesn't fray, you are fine following my instructions as written.
The first step is to fold the diagonal lines over to the wrong side by 0.5". Press well. You will be using your iron a lot to get a nice, crisp pocket.
Sew along the fold lines, close to the edge of the cut edge.
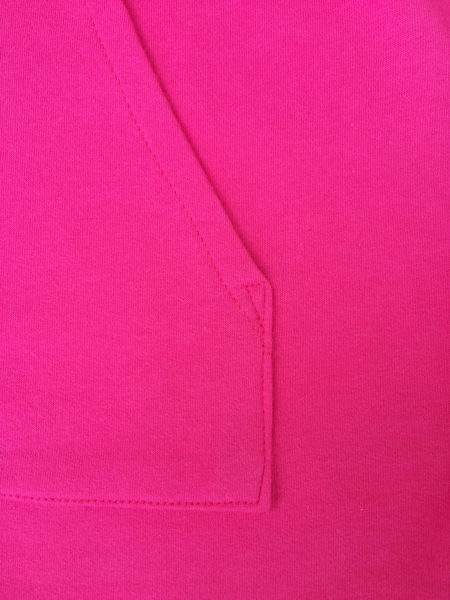
This is what it looks like after this step on the wrong side:

And on the right side:

Press well.
Fold the rest of the edges to the wrong side by 0.5". Press well.
Wrong side:

Right side:

Do not sew those folded edges down yet. You will sew them down after the pocket is situated correctly on the front shirt piece.
Position the pocket, right side up on the front of the shirt, also right side up. The pocket should sit over the belly. You might position the pocket on you where you think it should go and see if your hands fit comfortably in the pocket in that position. For me, it seemed to fit perfectly right over my belly button.
This step is not pictured and is not mandatory: I found it helpful to fold both the front shirt piece and the pocket piece in half and lightly iron down the center seam to mark the middle. I used this crease to align them and make sure the pocket was centered. You could alternatively measure, you just want to make sure the pocket is centered. If you do choose to iron to mark the center, do not over press. You want a very lightly pressed seam that will come out easily when you are done sewing.
Make sure the pocket is centered, and completely smooth on the front of the shirt piece. A lot of pins are helpful.
Sew a straight stitch on the top edge of the pocket, close to the edge of the pocket. Next sew a straight stitch on the sides and bottom edge of the pockets, turning at the bottom corners. Do not sew over the diagonal lines, those are the pocket openings.
Here are the two stitching lines described in the last step: (Keep in mind the one with the sides and bottom edge is one continuous line, turning at the corners.)

To secure the corners and ease up on stress points, I sewed a small triangle at each of the edges of the pocket opening:
And your pocket is done! Please let me know if you need any clarification.
No comments:
Post a Comment