Wednesday, September 14, 2016

PRP Week 1: Pokemon Go Challenge

Another season of Project Run and Play is here! I always try to sew along if I have time. I love the push it gives me to sew creatively. 

This week the theme is Pokemon Go Inspired. 

I will admit that I am hooked on playing Pokemon Go. When it first came out, I didn't think it would be something I was interested in, but I downloaded the game anyways so that my Pokemon obsessed daughter, Kylie, could play. Little did I know how much I would love it! 

My husband is equally as obsessed and we may, or may not, have gone Pokemon Go hunting on dates. That's normal, right?

I wasn't sure if I would have time to participate in the first week of Project Run and Play (maybe too much Pokemon Go hunting, ironically?) but Sunday night, the day before the new season kicked off I decided I should make something. My oldest is Pokemon obsessed after all. 

I didn't make up my mind until that night, after the kids were in bed, so I was limited on time and also on what fabrics I already had in my stash. I did have Pokemon fabric, but as this is an inspired challenge, I wanted to think outside the box in true Project Run and Play fashion.

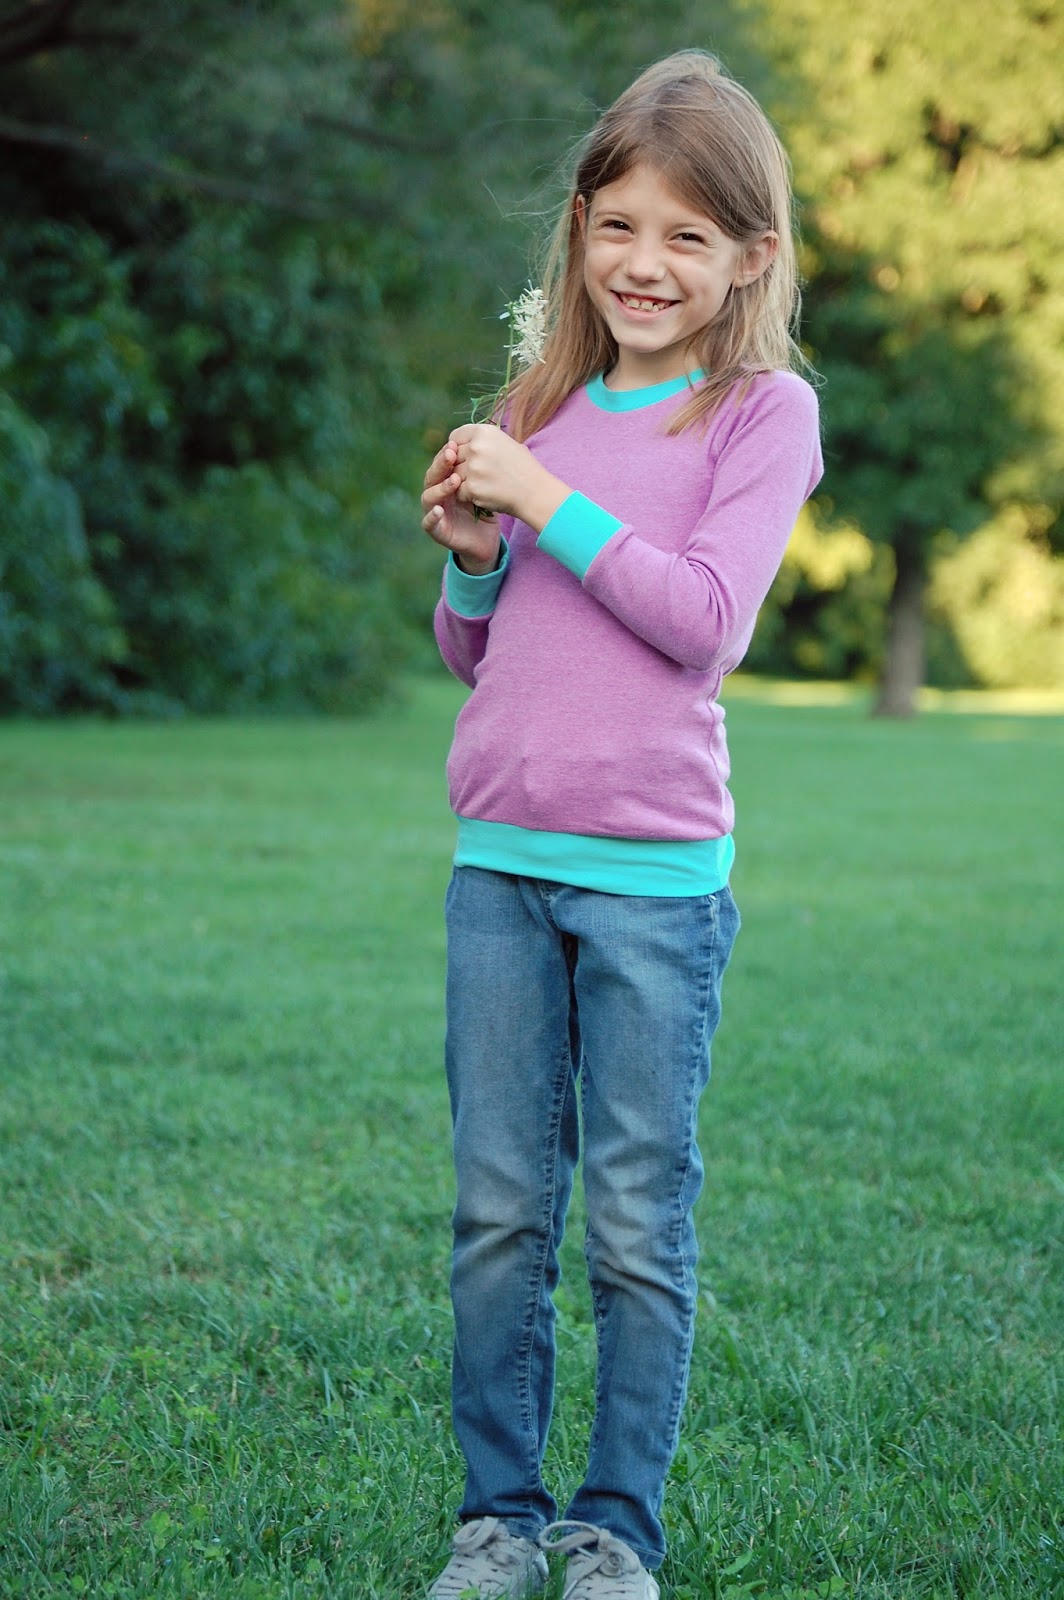
This is the look I came up with:


What? How is that Pokemon inspired? 

I'm glad you asked. I pulled my inspiration from a colorful, slightly funky, but beautiful Ivysaur:


Here are the design elements I noticed on Ivysaur:
-floral
-triangles
-color scheme: pink, green and blue.

I already had the perfect pants that I made during testing for the Summer Caye pattern by Love Notions. (aff link.) I hope it's ok I included the pants that I had already made in this look, but either way I'm doing it anyways, because

1) I was short on time. 

2) I'm not a real contestant, just sewing along for fun, so I don't think I have an hard rules.

The shirt is the Tidal, (aff. link) also from Love Notions and is what I chose to sew up very quickly Sunday night. 

I choose it because the princess seams on the front of the shirt give the front panel a triangular shape, if you imagine that the tip of the triangle is cut off. The back fabric wraps around to the front, and from the front of the shirt also look like triangles.


I used a green slinky knit fabric that I have had in my stash since I started sewing years ago. This was purchased on one of my very first JoAnn fabric shopping trips!

I honestly don't know for sure what it is. I loved how it felt when I bought it years ago and didn't pay attention to content. If I were to guess now, I would say there might be some rayon in there, because of how it drapes, but honestly from JoAnn, I would be surprised if it wasn't polyester.

The floral fabric is a stretch chiffon. Yes, a woven! This pattern is drafted for knits, but I had success with using a woven for the front only. Although the fabric name includes stretch, let's be real, it only has a tiny bit of give. At the most, this is 3% stretch.

I didn't alter the pattern except for taking slightly smaller seam allowances to make up for the lack of stretch.

I would recommend making a muslin if you were to try use a woven for the front in this pattern. Or at least don't use your most prized or expensive fabrics before testing it out first. But honestly that should be said for every time you sew a new pattern. I didn't, because I am a sewing rebel. Plus I had enough fabric to make a new one should I have needed to tweak the pattern further.

Look at that drape! I love it!

Using more stable fabrics would highlight the shape a bit more, which is a sightly different look, but also fun.

I chose these capris because they are blue like Ivysaur's body and also have a triangular shape at the hem, which is the tulip hem option of the pattern.

I blogged about this pattern here. It's one of my favorites. I actually made Kylie four pairs of shorts in addition to these capris and myself two pairs of shorts, all this past summer. It's definitely a well used pattern here.

That concludes my Pokemon Go inspired look. You can see other fun looks at Project Run and Play.

Tuesday, September 6, 2016

Pattern Review: Perfect Layering Tee by Cole's Corner and Creations

I'm a sucker for a good basics pattern. So when I saw this basic layering tee loaded with options, I jumped at the chance to help test it.

How many options, you ask?

Length options: Shirt or tunic, either length has the option of being banded or hemmed.

Sleeve options: Tank top, short sleeves, 3/4 length and long. The tank is banded, the short and long sleeves have the option of being cuffed or hemmed, the 3/4 sleeve is finished with a hem.

Neckline options: The tank has a lower neckline than the other styles, although if you wanted a shirt of tunic with a lower neckline, you can use the tank neckline and it's corresponding band length. The neckline and arm bands have instructions for both a regular t-shirt style band and instructions for the same banded look but with hidden seams.

Phew, I think that covers all the choices you have in making this shirt (or tunic... or tank top.)

I sewed two different versions during testing. First a tunic, 3/4 sleeves, with a band instead of hemming. Let's be honest, I love it when I can get away without hemming. I should have hemmed the sleeves, but I used the cheater hemming method on my serger. Easy peasy.


Those Royal Blue leggings pictured are the Bonny Leggings by Made for Mermaids. Pattern is FREE with a code if you join their Facebook group. Leggings are so cheap to buy, but I still love sewing them because I can get a much better fit if I make them myself. These are size 3 for the waist, size 4 for the hips and the rise and length are size 7. You can't buy leggings like that in the stores!

The version I just shared, the tunic with the pink stripes, went through some changes before the final pattern. The sleeves were since slimmed down to get a better "layering" style tee.

From the final revised pattern, I sewed Eve a cuffed long sleeved, banded shirt length tee:


The fit in the final version is great! It's meant to be a close fitting tee that can easily be layered, under dresses, other tees... We are very happy with it:


Sorry for the picture overload, but Eve just looks so cute in every one, I can't help it.


A few more details about the pattern:

The pattern is layered, meaning you have the option of only printing your size. The pages are no trim for a fast assembly.

The front and back armscye are not identical and the sleeve is not cut on the fold. This might not mean much to you if you starting on your sewing journey, but this just means the armscye fit will be better than if the front and back were the same. It's not easy to find asymmetrical armscyes and sleeve heads in PDF children's patterns, so that's a win for this pattern!

There is a very wide range of sizes: 1/2 to 16 girls. There is also a separate pattern for dolls in sizes 15" and 18" and a pattern for Wellie Wishers dolls. I did not test the doll patterns.

The patterns are on sale (no coupon code needed) in craftsy and can be purchased here:


With that, I leave you with one more photo of Eve, who couldn't be any cuter if she tried.


Tuesday, August 30, 2016

Pattern Review: Canyon Cardigan by Love Notions

I recently had the pleasure to test a new pattern from Love Notions: the Canyon Cardigan (affiliate links.)

This pattern has a lot of options and I chose to sew up the A-line sleeveless view. It was a tough decision because I felt like the long sleeves or 3/4 sleeves would have been "safer" as it was more in my comfort zone. To be completely honest, I have never worn a vest before and I wasn't sure if I could pull it off.

I went with a stretch lace, which was also new for me, because hey, why not. 


I was very happy I chose to step out of my comfort zone! I feel like this is a piece I can wear a lot of ways, which can't be said for most of my clothing. I am wearing it over a tank top with skinny jeans in the pictures, but the fit is perfect for layering over long sleeves as well. It will also be easily worn with dresses or i could go the casual route with shorts and a tee. 


Besides the A-line view which is what I sewed, there is both a waterfall or a gathered view. And since each one of those options can be sewn with sleeves (long or 3/4) or as a vest, there are a lot of possible looks with just the one pattern! 

In-seam pockets are another option, but I chose to do without them. I know a lot of peope love pockets, but it's not that important to me. I know, I know... I will probably be shunned from the sewing community for admitting that. 

All three views are sewn with a center seam in the back and include an inverted pleat on the "skirt" part of the cardigan. The shaping is great, while still having enough room for layers. 


Please ignore my hair in these pictures. I showered right before we headed out the door to go play at the park. My thought process was that my hair would dry at the park and we could take pictures right afterwards. The problem was that it was so humid outside, my hair never really fully dried and I just got hot and sweaty at the park. Oh well, the pictures had to be taken, wetish hair and all.

The good news was that wearing the cardigan over an otherwise boring ensemble of a tank top and jeans made me feel put together while out and about. Yet I was also very comfortable while playing with my kids at the park.Win win.


To recap the details about the pattern:

-3 views: A-line, Gathered, Waterfall.
-3 sleeve options: sleeveless vest, 3/4, long.
-Optional in-seam pockets.
-Optional elbow patches.
-PDF pattern includes layers so you can print only your size.
-Trimless-less pattern pieces make it very fast and easy to assemble the pattern.

To see more views, pictures, fabric requirements or to purchase the pattern, click here (affiliate link.) It's currently on sale through this Thursday!

I know I say this every time I blog about a Love Notions pattern, but I appreciate all the hard work and fine tuning that the pattern designer puts into the testing process. She goes through multiple revisions to get a great fit and to make sure her tutorial is clear and I highly recommend her patterns for this reason. 


Friday, May 13, 2016

Pretty Fabrics Part 2: Grain and Stretch

Continuing our discussion of fabrics, we are going to talk about two things today: Grain and Stretch.

What is fabric grain? The short answer is the direction the threads in the fabric have been woven, or in the case of knit fabrics, "knitted."

It matters because if you cut your fabric off grain, you can end up with twisting, stretching or draping in your sewn garment when those things shouldn't be there.

Let's say you buy one yard of a woven fabric. And this fabric is a flannel and is 42" wide. Not all fabrics will be the same width. Quilting cottons are usually 44" wide, knits are usually wider with 60" being a popular width. But I digress. You will notice trends in widths based on fabric types the more you shop for them.

After cutting this particular fabric at one yard (36"), we have a rectangle which measures 36" x 42".

(This picture was taken after the fabric was washed, so it did shrink a little bit. You can also see how the edges frayed as this is a woven fabric.)

Here is said fabric:


I have labeled the selvage, cut edges, lengthwise grain direction, cross grain direction, and bias direction.

The selvage edges are the ones that weren't cut and didn't fray when washed, or frayed minimally. The distance between the selvages is the original width of the fabric, in this case 42". The edges that frayed are the edges that were cut off the bolt when you purchased your yard of fabric.

The lengthwise grain direction or simply sometimes called the grain is parallel with the selvage edges. There shouldn't be any stretch when you pull the fabric in this direction (in wovens.)

The cross grain direction runs perpendicular to the grain direction and selvage edge. There might be a little stretch or give when you pull the fabric this way. If it's a stretch woven, this should be the direction the stretch runs.

The bias direction runs diagonally across the fabric. When pulled in this direction, there should be a good amount of stretch. This is why you do not want to cut your fabric willy nilly, if cut on the bias you will get a lot of stretch and your garment will not hang correctly. These stretching properties can be used for good, however. For example, you cut the fabric on the bias when you want to make bias tape, which should have some stretch. Here is a link to a blog post about bias tape, we will not cover it at this time, but you can read more about it if you want to know more.

When using a pattern, it should specify which way the grain should go when cutting out your fabric. Line up this grainline marking parallel with the grain line on your fabric. We will talk about this again when we talk about using patterns.

If creating your own pattern, you will want to remember that any stretch in the fabric should go around the body. Just to get an idea of what I'm talking about, pull on your t-shirt, notice the direction of the stretch on the body and sleeves.

The fabric I used above was a woven, think of the threads in the fabric as threads in a wicker basket. They should be perfectly aligned at 90 degree angles like a perfect tiny checkerboard. But sometimes they aren't and get off grain. This is a great blog post for understanding what off grain looks like and how to get it back on grain. (Click on the link for more info.) For our beginner projects, this will not matter much, but it will once we start cutting bigger pieces and making apparel. This will be something to have in mind later. Don't let this information overwhelm you at this point, if you are like me, the best way to learn is simply jumping in, doing it, and learning from your mistakes. So for now, make a mental note of this and when you are more comfortable with the sewing process, come back and visit this later.

Now, we have been talking above wovens. Let's chat about knits too. The same terminology and labels still apply, but knit fabrics behave a little bit differently.

One difference is that in knit fabrics, the cross grain direction will have some stretch for sure. Some fabrics will also stretch in both directions, which is what is referred to as having four way stretch. If they only stretch horizontally, or across the cross grain, they are called two way stretch. These names confused me until I thought of it in the following way:


I had been thinking about it as two possible directions, horizontally and vertically, so once I figured that out mentally, it was an ah-ha moment. I was thinking, how can four way be possible? There are only two possible directions? Nope, I was just confused.

Don't laugh at me, we have all been there. I was also that kid who couldn't figure out my right from my left until I was embarrassingly old. Why does left change every time I turn around? See, my brain needs to figure these things out on its own.

Stretch percentages will matter too when it comes to selecting the right fabric for the job. However, we will cover this later when we learn about sewing with knits. I don't want to overwhelm you at the moment. It's not difficult to figure out how much stretch a fabric has, but not too important at this time in our series.

Another thing that is different about knits, is how to tell if you are truly cutting your fabric on grain. As it is not woven, the tutorial I linked above isn't quite accurate. Sure a good pressing before you cut out will be a good idea, but when you cut, you should take a close look at your fabric. Here is a very close look:


Do you see rows of lines? Those are your grain lines and what you should ideally line up your grain line markings in your pattern pieces. You can also tell that my fabric would benefit from a good pressing and being laid more straight before I cut it.

Here is the same fabric zoomed out, isn't it pretty?


Some fabrics, such as rib knit, will have very obvious lines. Some such as the one above, need a very close look.

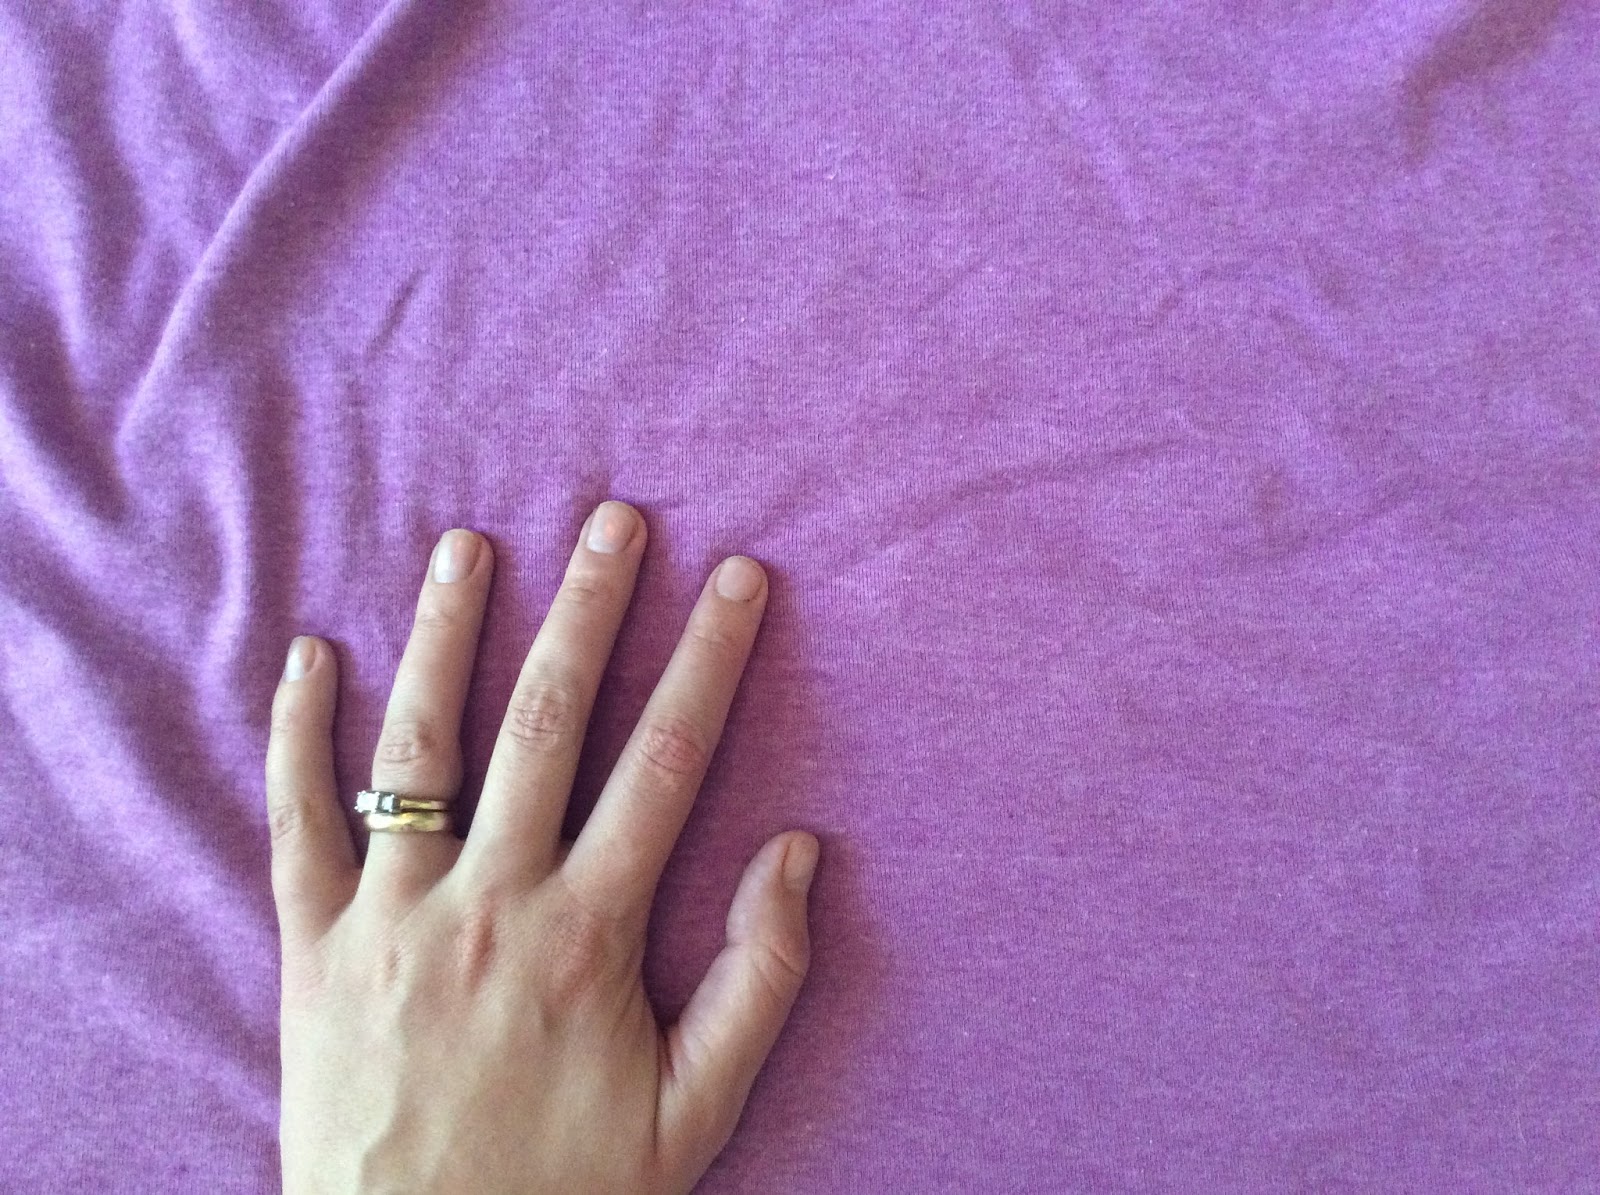
Here is one more close look, this one is the purple one that is pictured up where we looked at the two way vs. four way stretch fabric:


One more look at the fabric at a regular size (my hand shows the scale.)


Finally, another difference with knit fabrics is that the cut edges will not fray. Some, but not all, will roll on the cut line.

When I first started sewing, I didn't know much about the grain line. I knew not to cut diagonally, but that was about it. As you start out, don't let this information scare you. Simply do your best, and learn from there.

This concludes our first week of our learning to sew party! Woo hoo! Next week, we will actually make some projects, I promise.

Your homework in the meantime is to find your manual. Look online if you can't find it. If you can't find the manual online, look on youtube for a video about threading your machine or any information you can find about your specific machine. If you really can't find anything, let me know. I will help or try to find someone who can.

In your manual, read the parts about all the parts on your machine and how to thread it. We will cover this on Monday, but you need to know how to thread your specific machine. Try to figure out how to thread it with your manual or a youtube video. 

I will be here to help first thing on Monday. See you there!